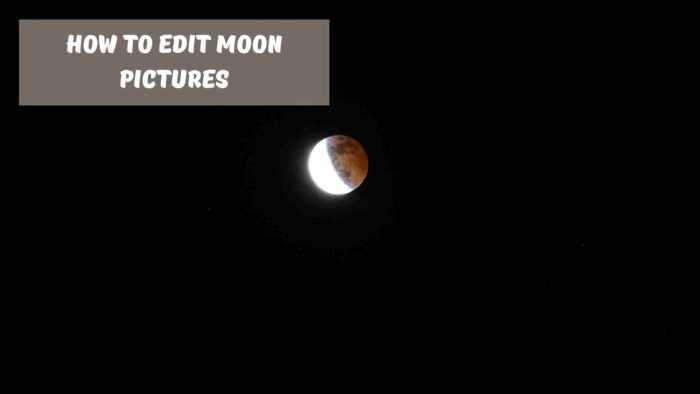
There are many ways to edit pictures of the moon, but the most popular editing software is Adobe Photoshop.
Editing pictures of the moon on your iPhone is easy. All you need to do is download a free app and use it to edit your pictures. You can also take pictures of the moon with your camera and edit them in an app like Adobe Lightroom CC.
It’s crucial to photograph the Moon with the right equipment and settings in order to obtain the ideal Moon shot, but editing also plays a big part in making the images seem more vibrant. Often, the image may seem beautiful on the camera screen, but when you upload it to your computer, it will appear lifeless.
If you have your Moon photos in RAW format, you will profit more from our tutorial on how to edit Moon photos since you will have greater post-processing options.
Picture of the Moon
Regardless of whether the photo is a close-up or a landscape, you must edit your moon photos. You may need to place the moon image into your chosen scene and then adjust the parameters to make the moon appear genuine. If you want to shoot the moon with a DSLR, you’ll need to edit your photos.
How to Enhance Moon Images
Adobe Lightroom and Photoshop are the two most often used picture editing programs. They provide a wealth of choices for the user, allowing you to express yourself when altering pictures of the Moon. Editing the shot entails a number of stages, from fine-tuning the details to integrating the Moon into the landscape picture’s backdrop. We’ll go through the steps in detail below. There’s no stopping you from taking amazing moon photos if you acquire the finest camera for moon photography and master the editing process.
Color and Lighting
Your Moon picture’s SOOC color may be off, and in order to correct it, you’ll need to first examine the lunar seas to see whether they’re a medium gray or not. Select the eyedropper tool and drag it over the moon’s black splotches (lunar seas). Following that, the moon’s white balance should be corrected, and the picture should seem more beautiful and realistic.
You should enhance the contrast of any picture of the moon other than a full moon to make the image pop more. Play around with the contrast slider to discover what appears best on your Moon photo. Increase the contrast if you wish to bring out the whites in your picture, and vice versa.
If any highlights seem to be blown out, reduce the highlights a little while dragging the shadows down a touch. Because the sky is typically black, you won’t have to deal with the blacks much, but you can tone it down a little to make the lunar waters appear nicer.
Details
To make the Moon appear sharper, increase the sharpness till the details are visible but not too so. Increase the image’s sharpness as well, but just a bit at a time, since too much may make things appear unattractive.
Another critical step is to mask away these features from the backdrop as well as the lunar seas to get the best results.
How to Make the Moon Look Perfect in a Landscape Photo
To begin, open Photoshop and open both pictures, then choose the moon layer. After that, you must crop the Moon image using a square crop, copy it, and paste the moon selection into the landscape layer.
Then, using Photoshop’s morph tool, adjust the moon so that it fits within your scene. Change the blending mode to Lighten to allow the lighter pixels to show through the darker ones. The sky of the landscape will show through the moon if the surrounds in your original moon picture are not the darkest portion. To avoid this, make sure the surrounding area is the darkest portion.
You should be nearly done at this point; all you have to do now is go to the Layer Style dialog box and drag the left slider all the way to the right to remove the black border around the moon. Zoom in on your Moon in the landscape and double-check that everything is in order, and then you’re done!
Conclusion
Allow your creativity to show through your image when editing it, and adjust the parameters according to your preferences. This will enhance picture quality, particularly when photographing the moon with clouds.
As you can see, learning how to edit moon photos is not difficult; just follow our instructions carefully before beginning to edit your photo.
Related
{“@context”:”https://schema.org”,”@type”:”FAQPage”,”mainEntity”:[{“@type”:”Question”,”name”:”How do you edit a picture of the moon?”,”acceptedAnswer”:{“@type”:”Answer”,”text”:”
You can use a free website called picmonkey.com to edit your photo.”}},{“@type”:”Question”,”name”:”How do you edit a picture of the moon on iPhone?”,”acceptedAnswer”:{“@type”:”Answer”,”text”:”
You can use the photo editor on your iPhone to edit a picture of the moon.”}},{“@type”:”Question”,”name”:”How do I edit the moon in Lightroom?”,”acceptedAnswer”:{“@type”:”Answer”,”text”:”
In Lightroom, you can edit the moon in a few different ways. You can either add stars to it, change the color of the moon, or remove it entirely.”}}]}
Frequently Asked Questions
How do you edit a picture of the moon?
You can use a free website called picmonkey.com to edit your photo.
How do you edit a picture of the moon on iPhone?
You can use the photo editor on your iPhone to edit a picture of the moon.
How do I edit the moon in Lightroom?
In Lightroom, you can edit the moon in a few different ways. You can either add stars to it, change the color of the moon, or remove it entirely.
Related Tags
- how to edit moon pictures in lightroom
- how to stack moon photos in photoshop
- how to edit moon photos in snapseed
- stacking moon photos in lightroom
- how to take pictures of the moon with smartphone

